I always enjoy the wiring of a model railway layout. It is a good exercise in logic and problem-solving! This may be why I am not especially attracted to the digital systems now becoming quite popular; at least, not attracted enough to pay for all the requisite kit, like a decoder for each locomotive, signal, point motor etc on the layout! With traditional DC wiring I do miss being able to have sound (although this matter less with all electric locomotives) and train lighting, but digital control costs a lot for this benefit, so I am sticking with DC wiring and that is how Innsdorf has been wired.
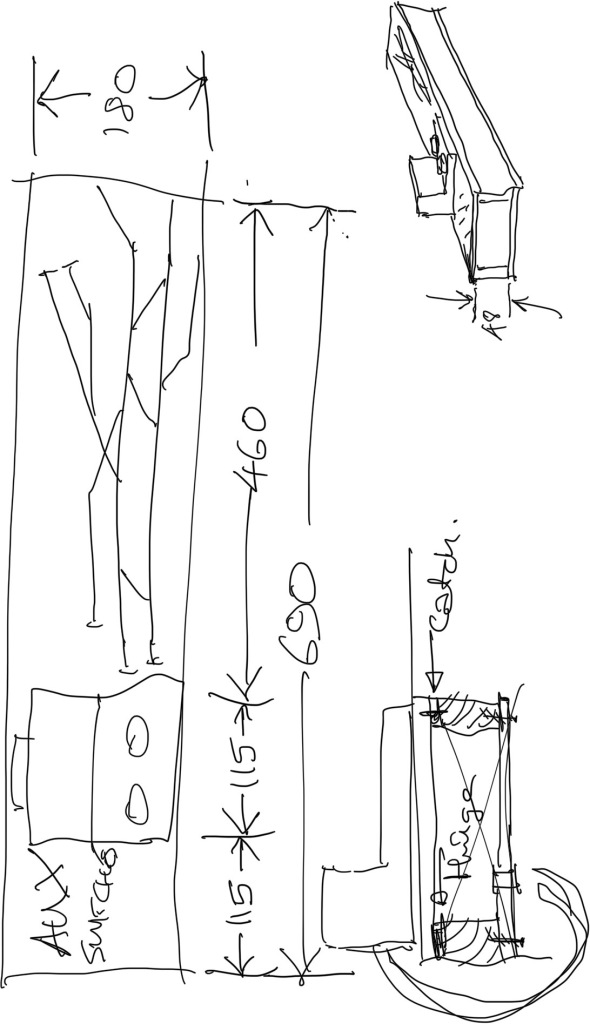
I began by drawing out the track diagram and working out how many electrical sections I might need: sections are necessary in order to allow several locomotives to be on the layout with only one being moved at a time by each controller. I intended to have two controllers so that I would not be limited to only one train moving at a time, but there was no point in having more than that since in such a small space more would never be needed, and there was nowhere for more operators to stand anyway. It soon became clear when I thought about how the station would be used that I only needed two distinct sections, along with some platform-end isolators so that uncoupled locomotives from incoming trains could be parked at the buffers while another locomotive takes the train out. I decided to adopt the simple solution of one controller for each section, and to allow a loco to move from one side of the station to another, one of the sections would have a switch to allow it to be operated by the other’s controller when required.

Each section needed a feed and return wire on each side of the join between the two baseboards, so no inter-baseboard connectors are required. As this station would be operated from the front at home and behind when taken to an exhibition, I designed a control panel which could be used either way round. The panel carries the track diagram with the switches and point-control studs embedded in it, and the twin controller simply sits on top of the panel and can be positioned facing either way. The layout plugs into the underside of the panel using multi-pin computer plugs and the twin controller plugs into the top using a computer network socket which has eight lines, just enough for the purpose!

Hi Mark,
Thanks for this. Great to see (and hear) more progress.
If you are running the layout from the back, then the loco controllers A (left) and B (right) will then be controlling the right and left sections. Are you intending a switch or some plugs and sockets so that the A (left) controller controls the left section etc.?
Just a thought.
Chris
LikeLike
The controllers A and B do not control left and right sections but lines A and B (which, by a quirk of geography and the alphabet, happen to stand for Albula and Bernina!). The A line can be switched to the B controller when a train is required to pass from one side to the other (as when running a locomotive round a terminating train, for example). So it makes no difference which side the operator is standing so long as the control unit is turned round to make the knobs accessible.
LikeLike