I was horrified to see that it has been over a year since I last posted anything here. It is not that nothing has been happening but that nothing much has been completed, so although I have been taking photographs and video it never really seemed worth posting them, but I thought that perhaps it might be an idea to compile a report for the blog and let everyone know that Innsdorf is still very much alive.

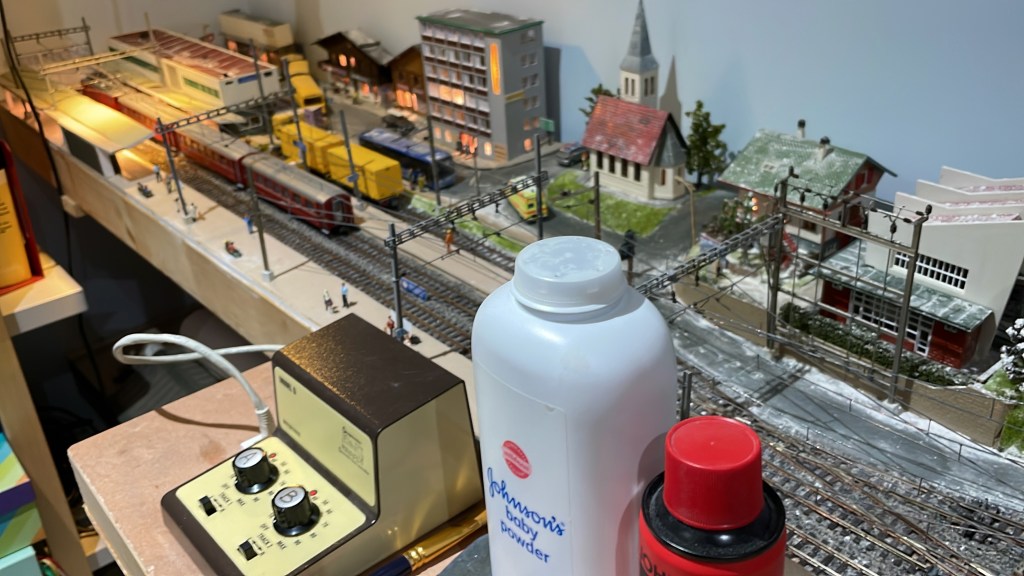
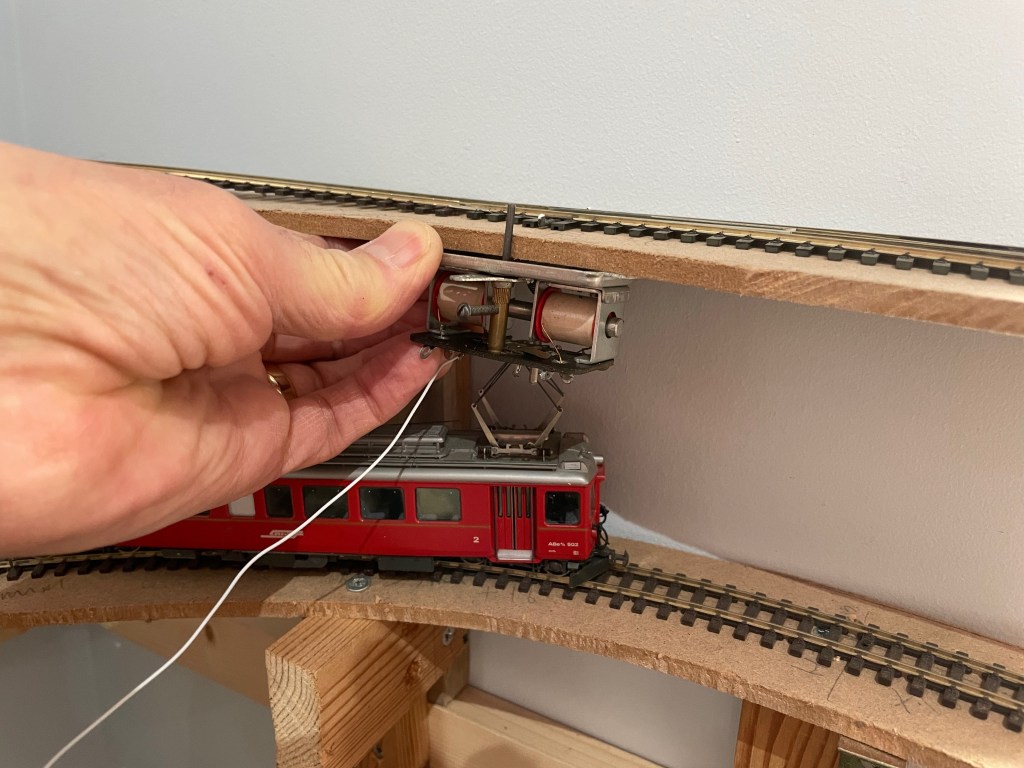
I am now beginning to put in a little more time on railway modelling and progress is therefore accelerating a bit, and over the last few months I have acquired a number of items, mainly detail kits, to add some Swiss authenticity to Innsdorf station and village. I had been turning over in my mind for a couple of years how I might make the distinctive RhB station lighting, mounted on the electrification gantries, and Swiss bus stop signs, both of which would indicate that this is Switzerland, and Graubünden in particular. Then in an issue of Continental Modeller I read of a layout where the station lighting had been bought from the Swiss Model Railway Shop, so I looked at their website and found the lighting I needed, the bus stop signs and lots more detail. The kits are, as you’d expect from something so tiny, extremely difficult to assemble, requiring peace and quiet, lots of light, a steady hand and the right tools, but progress is being made and there is a real sense of satisfaction in getting these things done.
The bus stop signs are already in place now and I have begun the fiddly task of assembling the light fittings – the even more fiddly task of installing them and connecting them up will follow eventually! Meanwhile the only tasks really outstanding before Innsdorf is ready for exhibition are the back scene and tracklaying in the fiddle yard: painting of the back scene has begun, and the fiddle yard board and legs are already complete; the track has been bought.