Although I wanted the building interiors to be lit at all times to bring the place to “life”, I felt it would be wrong to have the street lights on all day as well, so I wanted to put these on a switched lighting circuit. My original intention had been to wire up the seilbahn in such a way that when it was switched on and the street lighting was also switched on then the exterior lighting at the seilbahn stations would also be on, but unfortunately I had run out of pins on the multipin plug for the second baseboard, so all the seilbahn lighting has to be on when it is operating. One cannot have everything.
The LEDs fitted in the Kyte’s Lights street lamps were of two types, a bright white 3 volt LED in the main road lights and a warmer, yellower 6 volt one in the concrete-style lights that I used in the pedestrian and back-street areas. I had to be careful to ensure that the correct resistor was used for each lamp standard, with none being required at all for the building lights which had a resistor built-in. Combined with the need to ensure that the LEDs were wired the correct way round, being diodes, the project was fraught with the possibility of errors! Having accidentally subjected some LEDs to the full 12-volt supply when connecting the seilbahn I was especially careful this time, for they are very unforgiving.
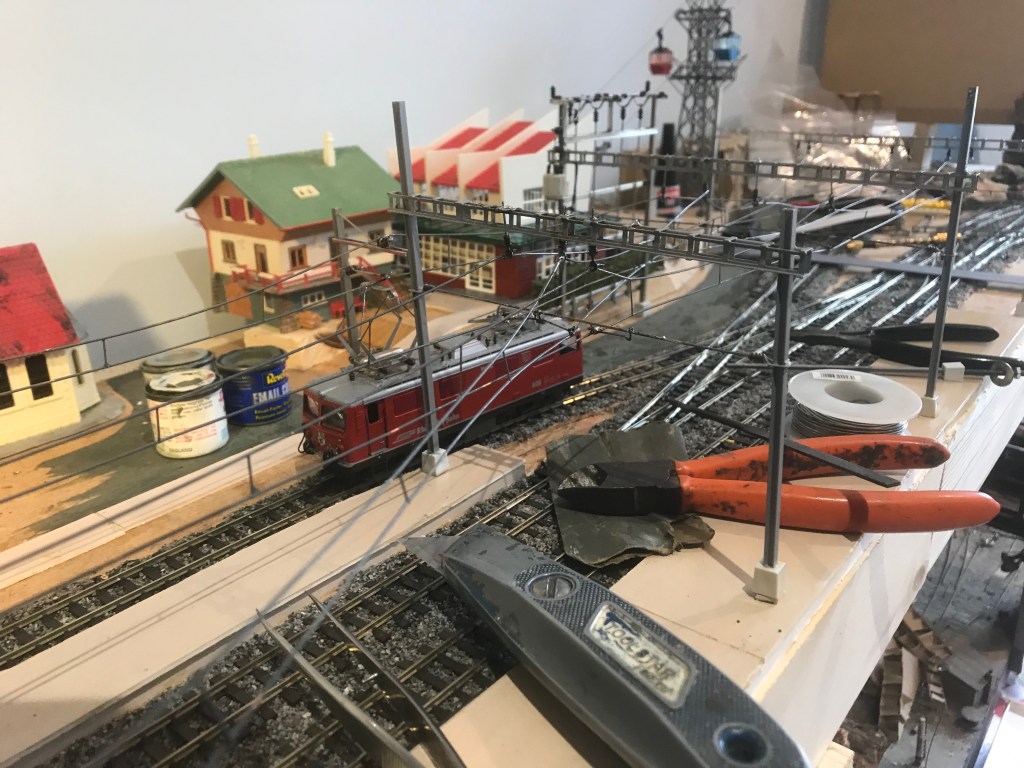
In order to work comfortably on the under-board connections I placed the village baseboard on its side on my workbench, as I had the other board when connecting the seilbahn last time. The wire tails on the street lights, and on the building interior lights, were extremely thin and fiddly and needed to be somewhere I could easily see and reach. While I had this part of the layout on the bench I undertook some other work, including adding more of the “dusting” of snow. I added a few more people and began planning where the vehicles would eventually stand – but I need to put some people inside the buses before I fix those – perhaps a future subject for another video!